外部からの接続はhttpsで処理し、NginxからASP.NET Coreへの内部接続はhttpで処理する。
Nginx -> リバースプロキシ -> ASP.NET Core の環境では、NginxだけSSLに対応すれば良く、ASP.NET Coreプロジェクトをhttps構成にする必要は無い。
リバースプロキシサーバーはパフォーマンスの面から、ApacheではなくNginxを使うのが望ましい。
【環境】
OS: CentOS Linux release 7.6.1810 (Core)
Nginx: nginx.x86_64 1:1.17.2-1.el7.ngx
ASP.NET Core: 2.2.6
マシンIP: 192.168.11.31
【手順】
1. workディレクトリ作成
1-1. Webアプリデプロイ先のフォルダ作成。
|
1 2 3 4 |
# mkdir /var/aspnet # mkdir /var/aspnet/WebApplication3 |
1-2. ssl key 配置用。
|
1 2 3 4 5 |
# mkdir /usr/local/nginx/ # mkdir /usr/local/nginx/conf/ # mkdir /usr/local/nginx/conf/ssl |
2. ユーザ追加
nginxの実行ユーザ変更用にユーザを追加。
nologinを指定して、コンソールからnginxuserユーザでログインはさせない。
|
1 2 3 4 |
# useradd -s /sbin/nologin nginxuser # passwd nginxuser |
3. ファイアウォール無効化
一旦、無効にしておく。
3-1. firewalld自動起動停止
|
1 2 3 |
# systemctl disable firewalld |
4. SELinux無効化
一旦、無効にしておく。
|
1 2 3 4 5 |
# vi /etc/selinux/config SELINUX=disabled |
5. OS再起動
|
1 2 3 |
# sync;sync;shutdown -r now |
6. SSL証明書 作成
テスト用のSSL証明書をopensslで作成する。
|
1 2 3 4 5 6 7 8 9 10 11 12 13 14 15 16 17 18 19 20 |
# openssl genrsa 2048 > server.key # openssl req -new -key server.key > server.csr Country Name (2 letter code) [XX]: [enter] State or Province Name (full name) []: [enter] Locality Name (eg, city) [Default City]: [enter] Organization Name (eg, company) [Default Company Ltd]: [enter] Organizational Unit Name (eg, section) []: [enter] Common Name (eg, your name or your server’s hostname) []: localhost Email Address []: [enter] A challenge password []: [password] An optional company name []: [enter] # openssl x509 -days 36500 -req -signkey server.key < server.csr > server.crt # openssl pkcs12 -export -inkey server.key -in server.crt -out server.pfx Enter Export Password: [password] Verifying – Enter Export Password: [password] |
7. ASP.NET Coreインストール
7-1. Add the dotnet product feed
|
1 2 3 |
# sudo rpm -Uvh https://packages.microsoft.com/config/rhel/7/packages-microsoft-prod.rpm |
7-2. Install the .NET Runtime
|
1 2 3 4 |
# sudo yum update # sudo yum install aspnetcore-runtime-2.2 |
8. デプロイ(httpサイト)
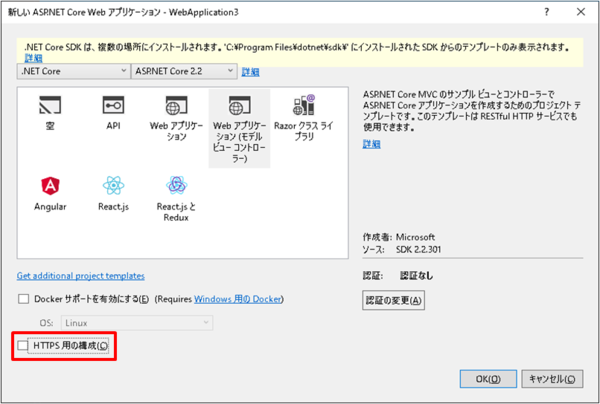
Visual Studio で「ASP.NET Core Web アプリケーション」の新しいプロジェクト作成。
その際、「HTTPS用の構成」はチェックを外す。

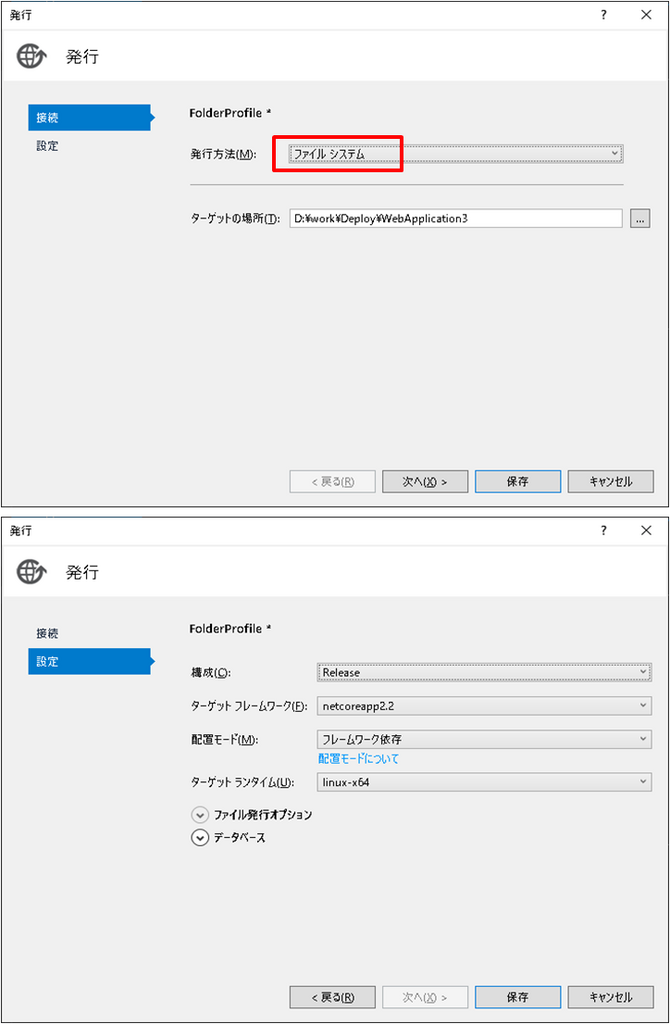
プロジェクトの発行方法は「ファイルシステム」にして発行する。
9. WinSCPを使い、発行したファイルをWebアプリ配下にドッグ&ドロップして展開。
|
1 2 3 |
D:\work\Deploy\WebApplication3 > /var/aspnet/WebApplication3 |
10. ASP.NET Core Webアプリ起動。
|
1 2 3 |
# /usr/bin/dotnet /var/aspnet/WebApplication3/WebApplication3.dll –server.urls=”http://localhost:5100“ |
11. Nginx インストール
11-1. Nginxのリポジトリ情報を登録する
|
1 2 3 4 5 6 7 8 9 |
# vi /etc/yum.repos.d/nginx.repo [nginx] name=nginx repo baseurl=http://nginx.org/packages/mainline/centos/7/$basearch/ gpgcheck=0 enabled=1 |
11-2. yumでインストール
|
1 2 3 |
# yum -y install nginx |
11-3. 起動設定
Nginx のインストールが完了したら、コンピュータ起動時に自動的に Nginx が起動するように設定。
|
1 2 3 |
# systemctl enable nginx |
11-4. 起動
|
1 2 3 |
# systemctl start nginx |
11-5. nginx.conf 設定
|
1 2 3 4 5 6 7 8 9 10 11 12 13 14 15 16 17 18 |
# vi /etc/nginx/nginx.conf user nginxuser; <=変更 http { server_tokens off; <= 追加 include /etc/nginx/mime.types; default_type application/octet-stream; keepalive_timeout 3; <=変更 gzip on; <= 有効化 server_names_hash_bucket_size 128; <= 追加 include /etc/nginx/conf.d/*.conf; include /etc/nginx/sites-enabled/*.conf; } |
11-6. バーチャルホスト設定
|
1 2 3 4 5 6 7 8 9 10 11 12 13 14 15 16 17 18 19 20 21 22 23 24 25 26 27 28 29 30 31 32 33 34 35 36 37 38 39 40 41 42 43 44 45 |
# vi /etc/nginx/conf.d/default.conf server { listen 443 ssl; listen [::]:443 ssl; server_name 192.168.11.31 *.192.168.11.31; ssl on; ssl_certificate /usr/local/nginx/conf/ssl/server.crt; ssl_certificate_key /usr/local/nginx/conf/ssl/server.key; location / { proxy_pass http://localhost:5100; proxy_http_version 1.1; proxy_set_header Upgrade $http_upgrade; proxy_set_header Connection keep-alive; proxy_set_header Host $host; proxy_cache_bypass $http_upgrade; proxy_set_header X-Forwarded-For $proxy_add_x_forwarded_for; proxy_set_header X-Forwarded-Proto $scheme; } location /css/ { alias /var/aspnet/WebApplication3/wwwroot/css/; } location /js/ { alias /var/aspnet/WebApplication3/wwwroot/js/; } location /lib/bootstrap/dist/css/ { alias /var/aspnet/WebApplication3/wwwroot/lib/bootstrap/dist/css/; } error_page 500 502 503 504 /50x.html; location = /50x.html { root /usr/share/nginx/html; } } server { listen 80 default_server; return 444; } |
11-7. 構文に問題が無いか確認。
|
1 2 3 |
# nginx -t |
11-8. nginx設定ファイル再読込み
|
1 2 3 |
# sudo nginx -s reload |
12. 接続確認
12-1. 内部接続確認
別コンソールからWebページを表示。Htmlを標準出力に出力。
※UseUrls()をプログラムで設定していないので、ASP.NET Core Webアプリに外部から直接接続はできない。
|
1 2 3 |
# curl http://localhost:5100 |
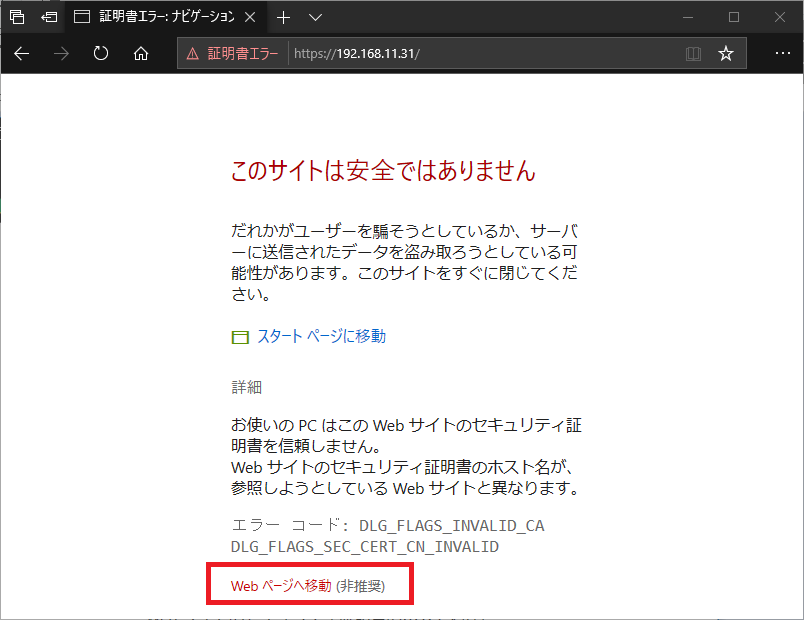
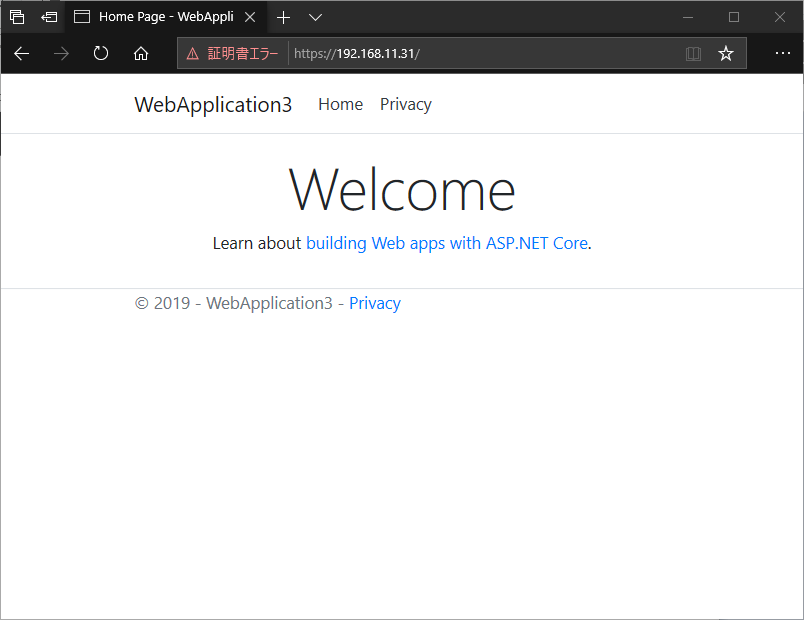
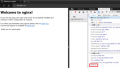
12-2. 外部接続確認
|
1 2 3 |
https://192.168.11.31/ |
コメント