※Developer Edition は開発環境でSQLServerの全機能を無料で使えます。
※本手順のOSバージョンは Windows 10。
SQLServer本体
インストーラーをダウンロード
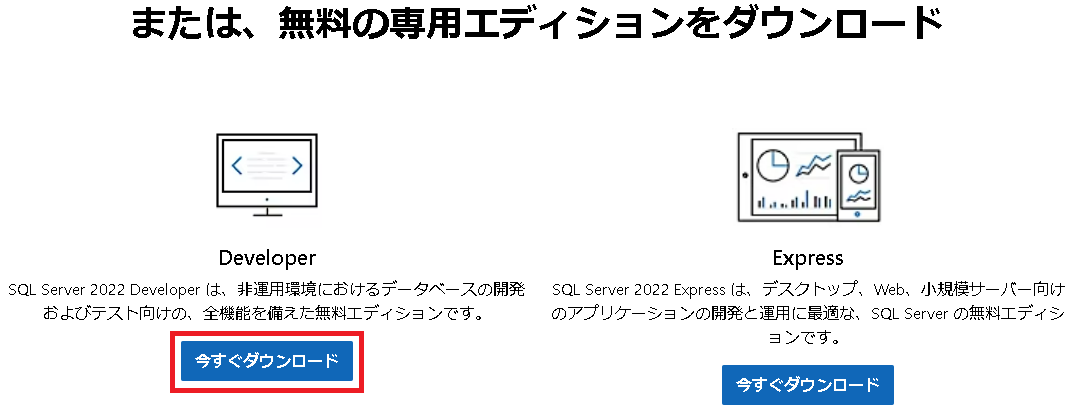
https://www.microsoft.com/ja-jp/sql-server/sql-server-downloads から、Developerのインストーラーをダウンロード。

インストール
ダウンロードしたインストーラー(SQL2022-SSEI-Dev.exe)を実行。
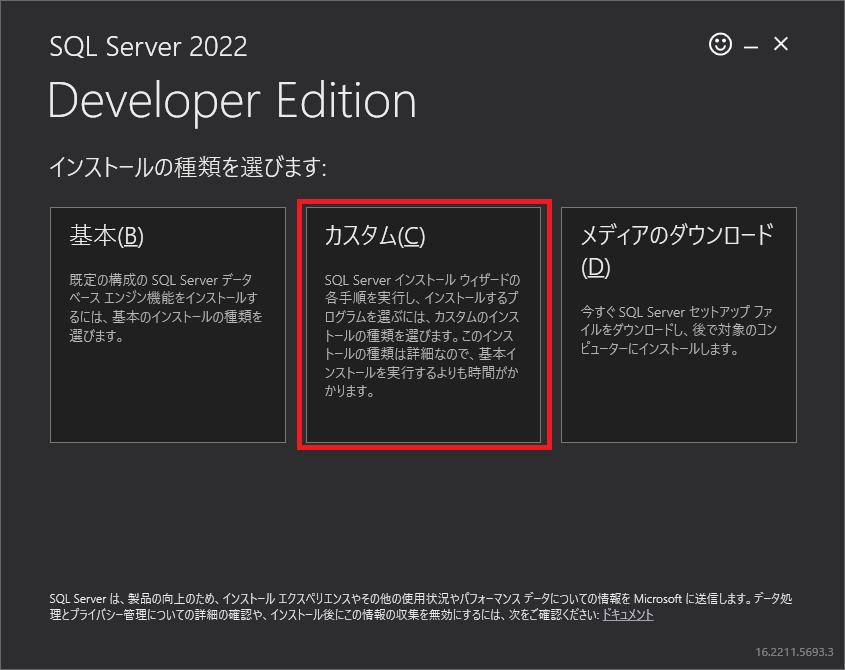
「インストールの種類を選びます」で「カスタム」をクリック。
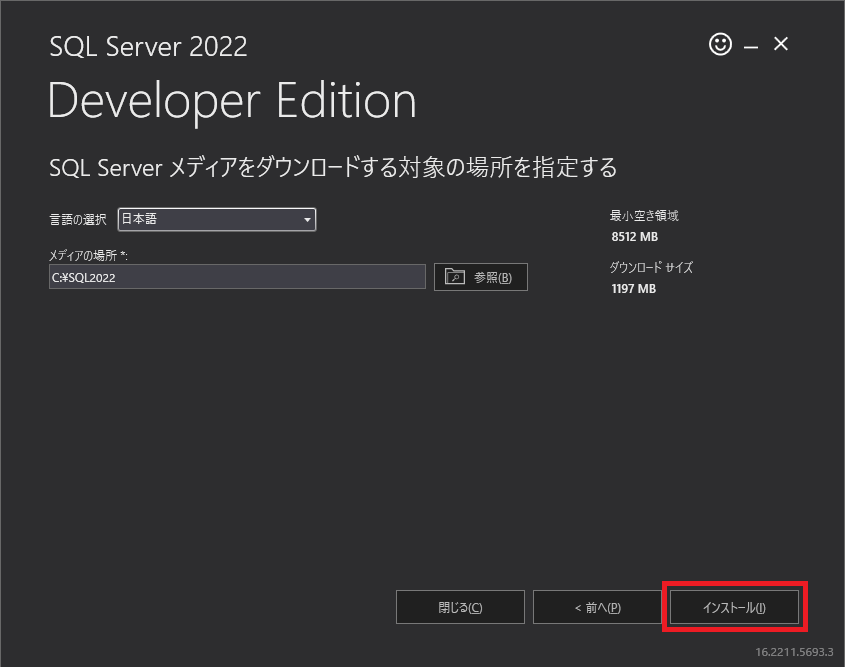
「SQL Server メディアをダウンロードする対象の場所を指定する」で「インストール」をクリック。
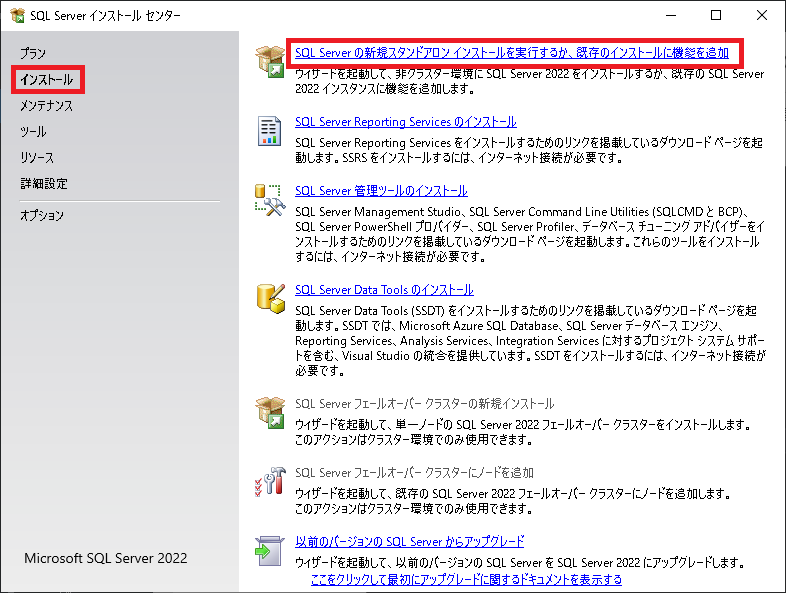
「SQL Server インストール センター」で「インストール」の「SQL Server の新機スタンドアロン インストールを実行するか、既存のインストールに機能を追加する」をクリック。
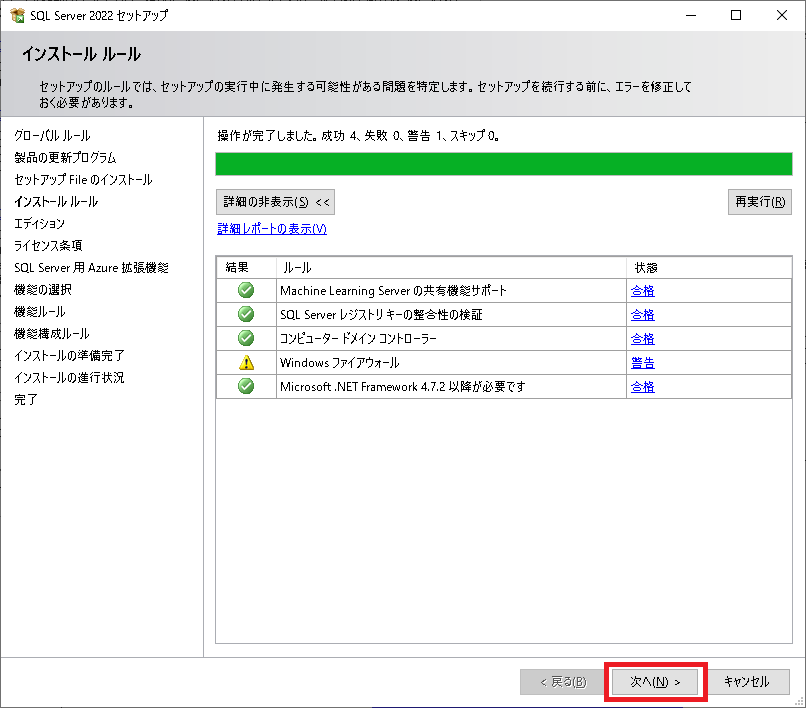
「インストール ルール」で「次へ」をクリック。
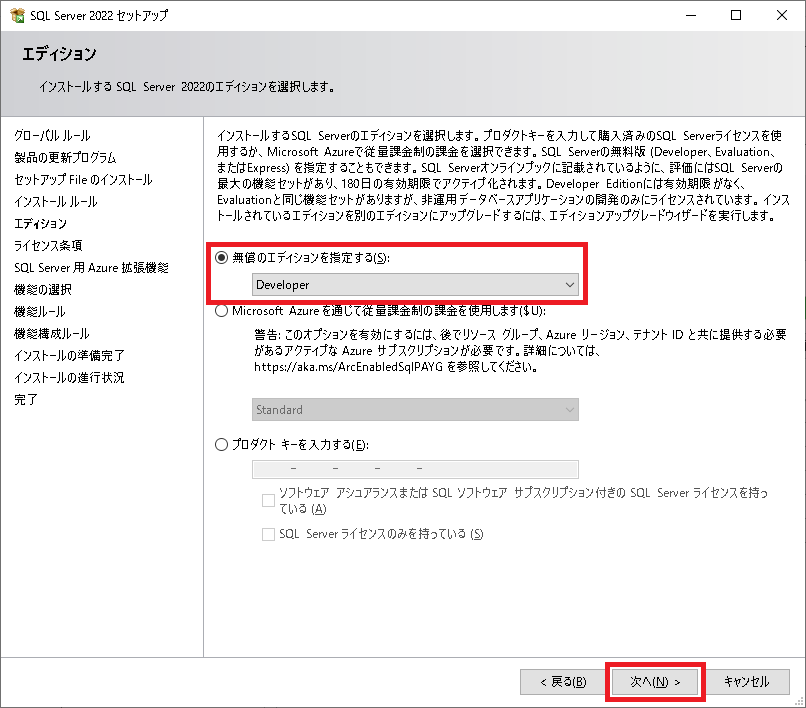
「無償のエディションを指定する」で「Developer」を選択し「次へ」をクリック。
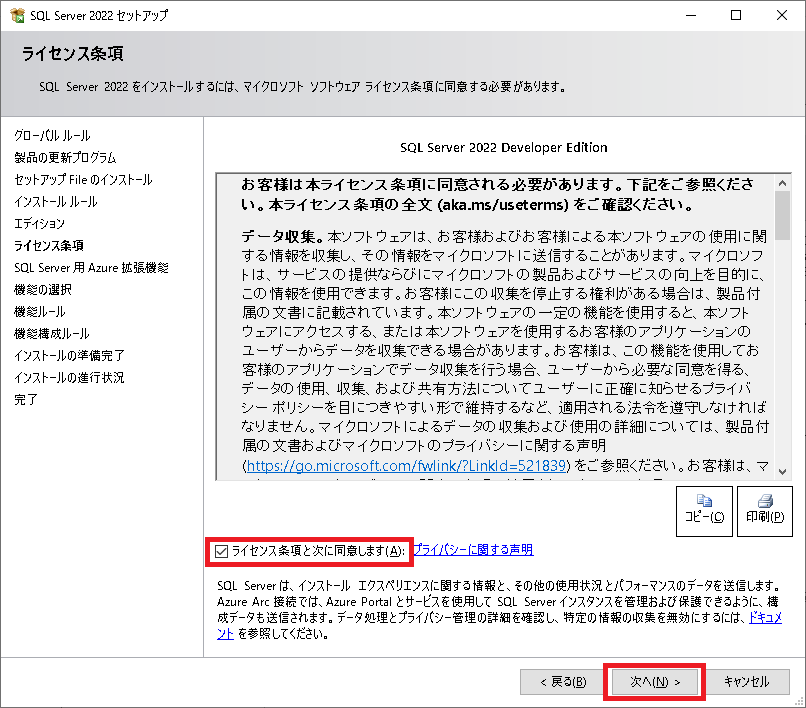
「ライセンス条項」で「ライセンス条項と次に同意します」を選択し「次へ」をクリック。
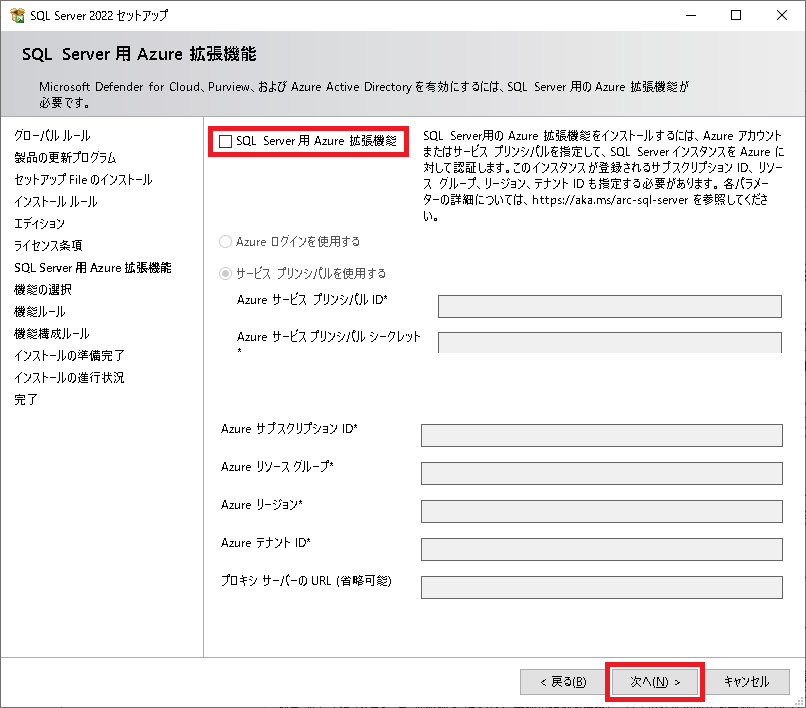
「SQL Server 用 Azure 拡張機能」で「SQL Server 用 Azure 拡張機能」の選択は外し「次へ」をクリック。
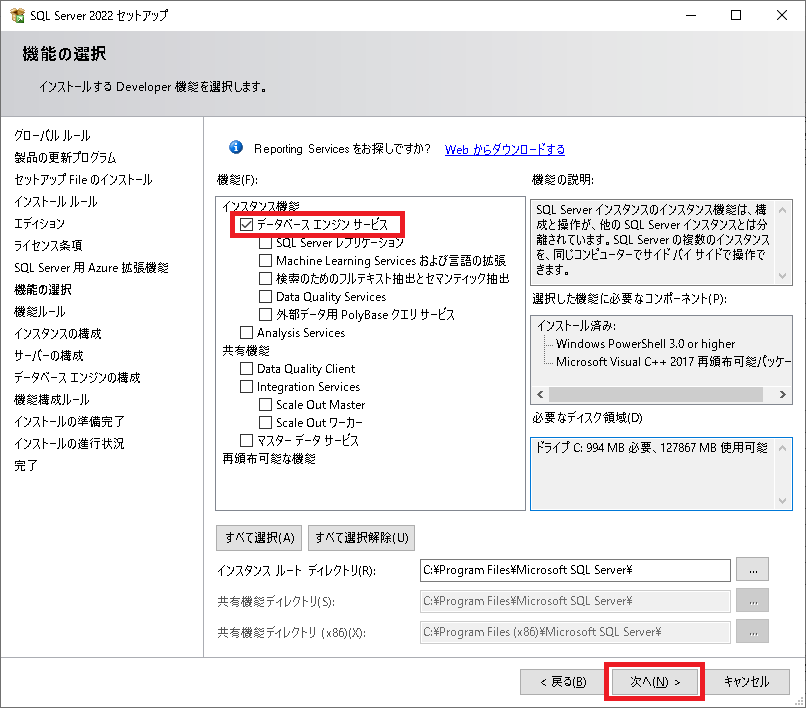
「機能の選択」で「データベース エンジン サービス」は必須で選択し「次へ」をクリック。
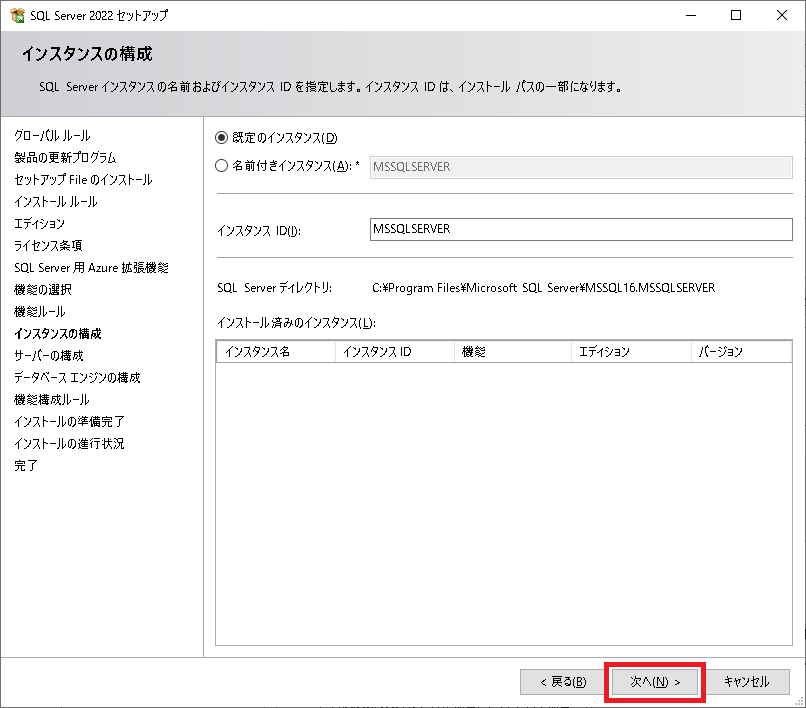
「インスタンスの構成」で「次へ」をクリック。
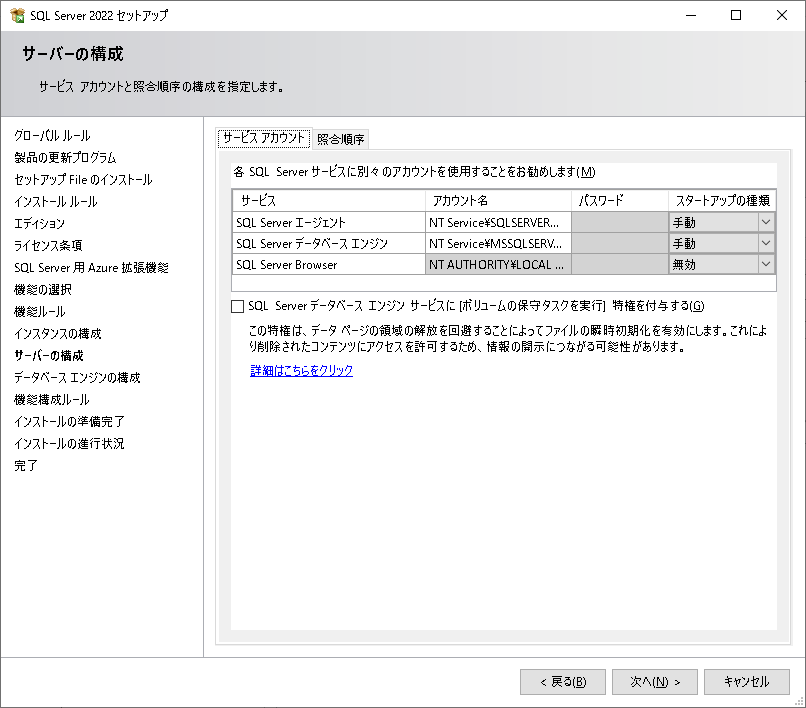
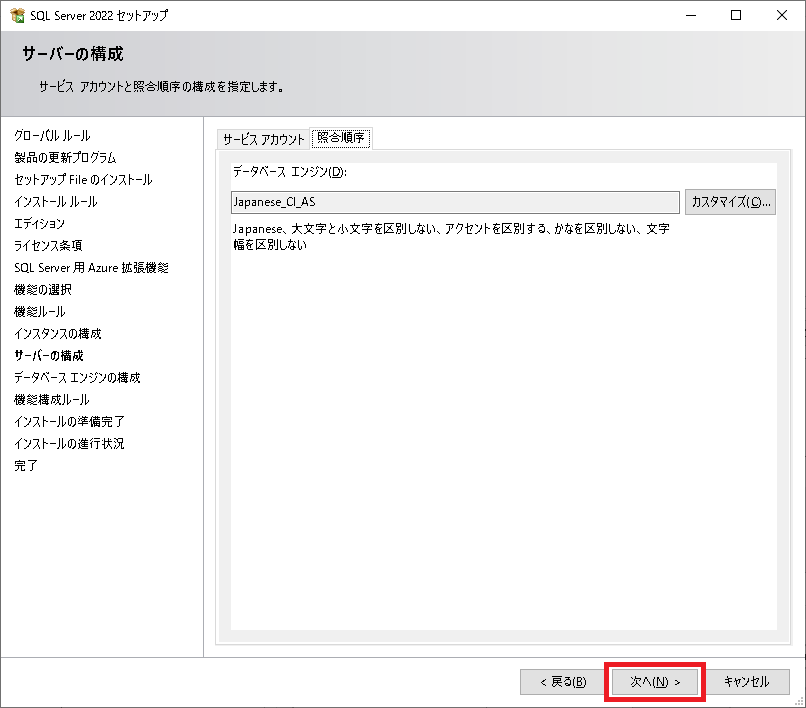
「サーバーの構成」で「サービス アカウント」「照合順序」を任意に変更し「次へ」をクリック。
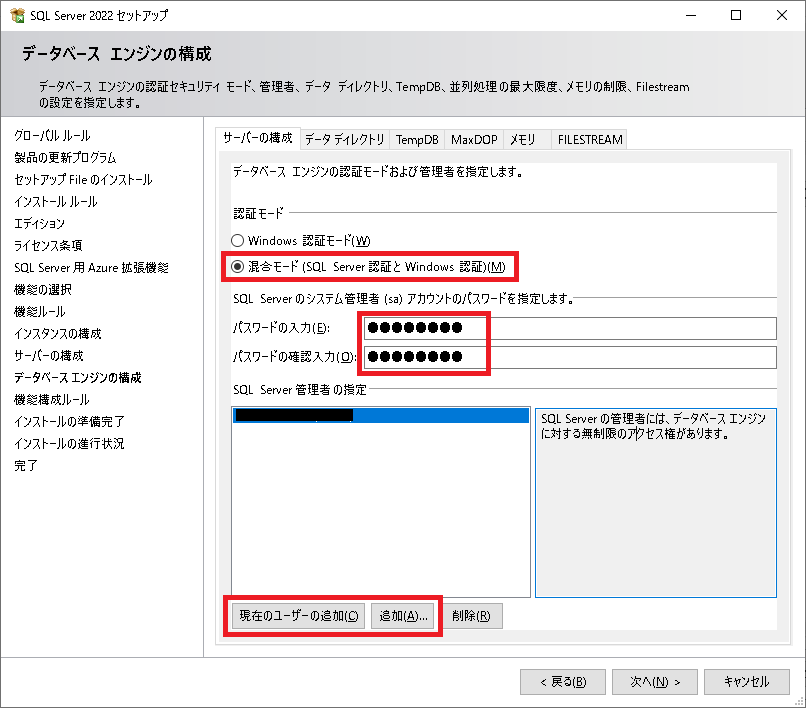
「データベース エンジンの構成」の「サーバーの構成」で、「認証モード」は「混合モード」を選択、パスワードを入力、「現在のユーザーの追加」「追加」で管理ユーザを追加。
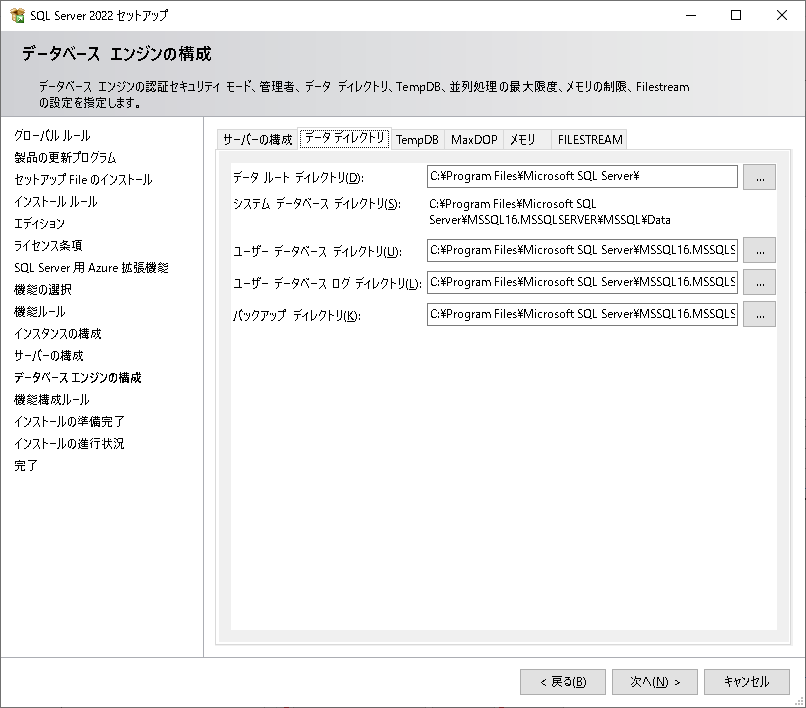
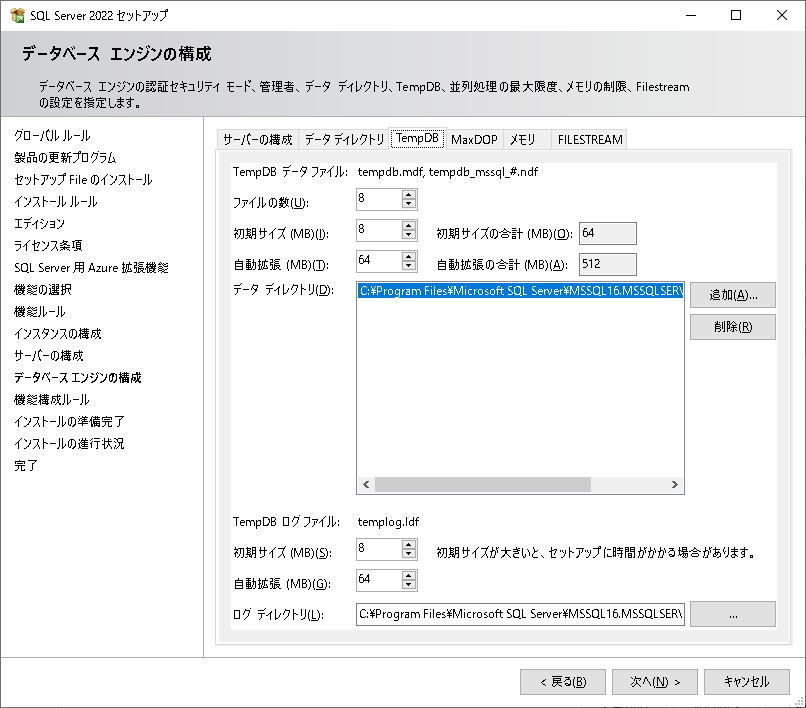
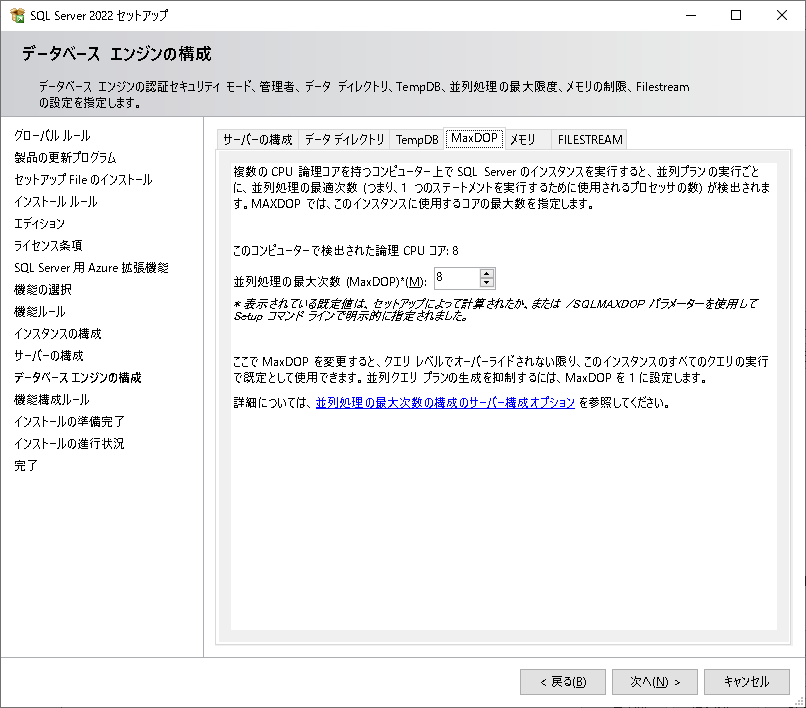
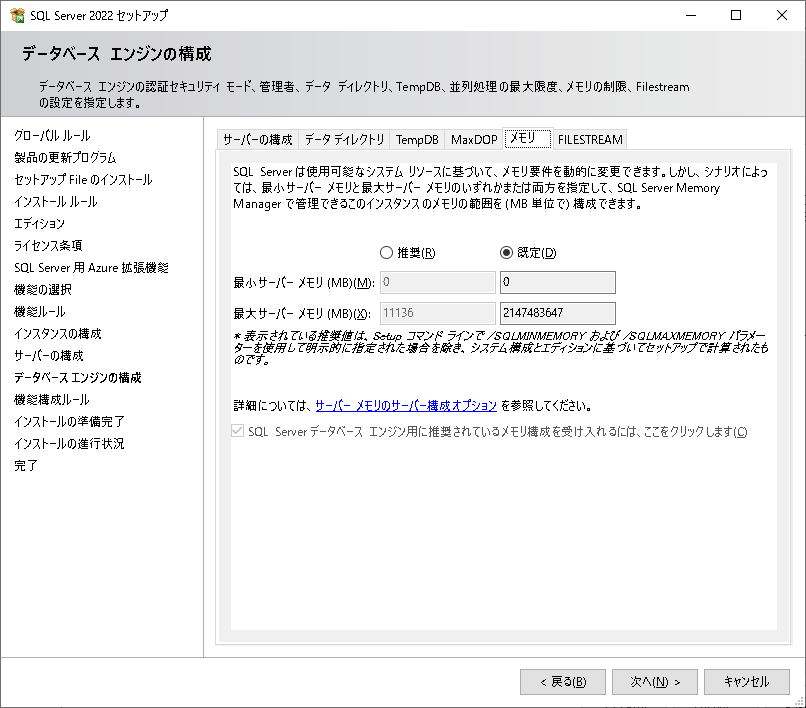
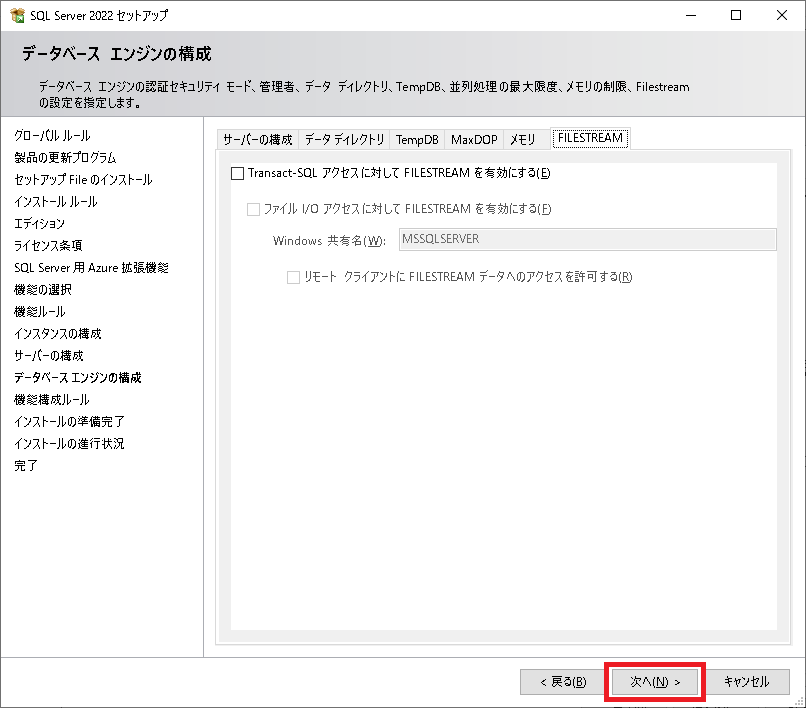
「データ ディレクトリ」「TempDB」「MaxDOP」「メモリ」「FILESTREAM」タブは任意に変更し「次へ」をクリック。
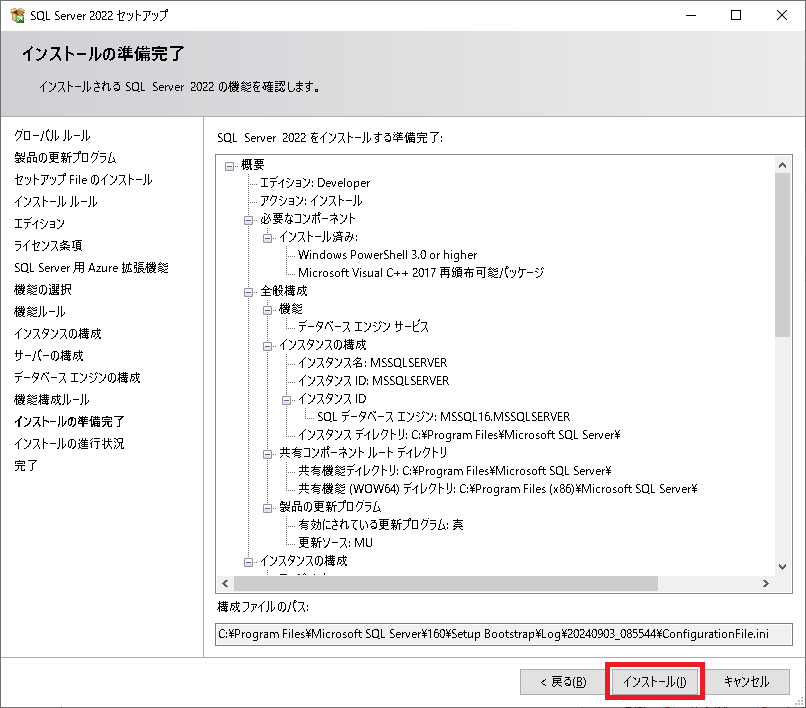
「インストールの準備完了」で「インストール」をクリック。
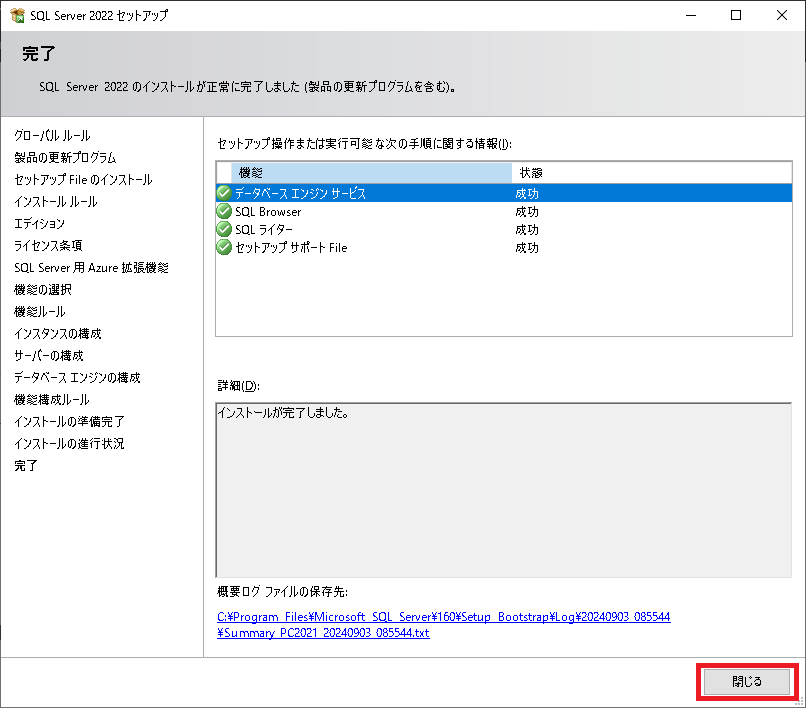
「完了」で「閉じる」をクリック。
SQLServer起動/停止/再起動
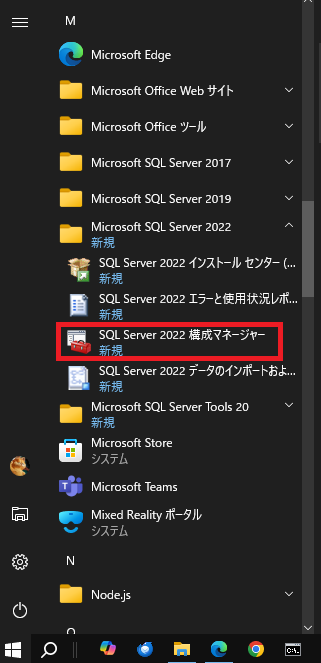
スタートアップで「SQL Server 2022 構成マネージャー」をクリック。
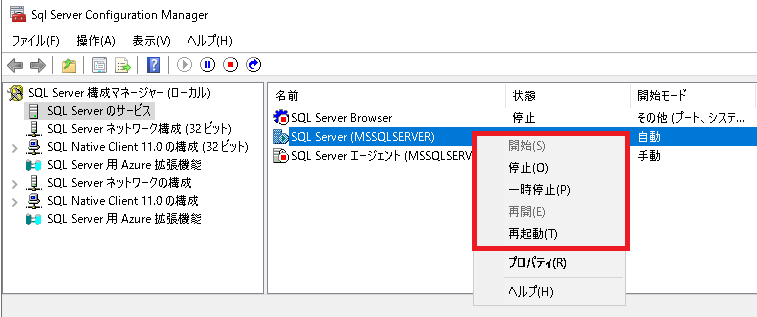
「Sql Server Configuration Manger」で SQL Serverのインスタンスを右クリックし「開始/停止/再起動」などをクリック。
アンインストール
スタートアップで「設定」をクリック。
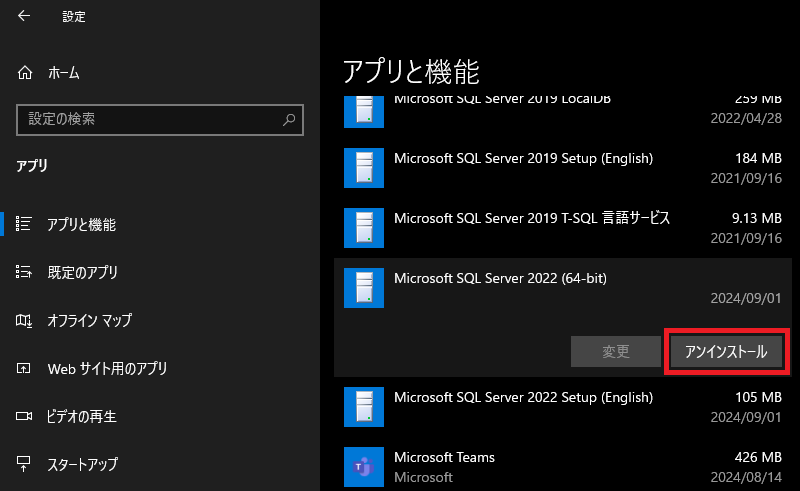
「アプリ」をクリック。

「Microsoft SQL Server 2022」の「アンインストール」をクリック。
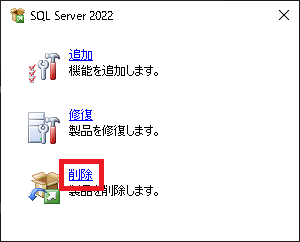
「SQL Server 2022」の「削除」をクリック。
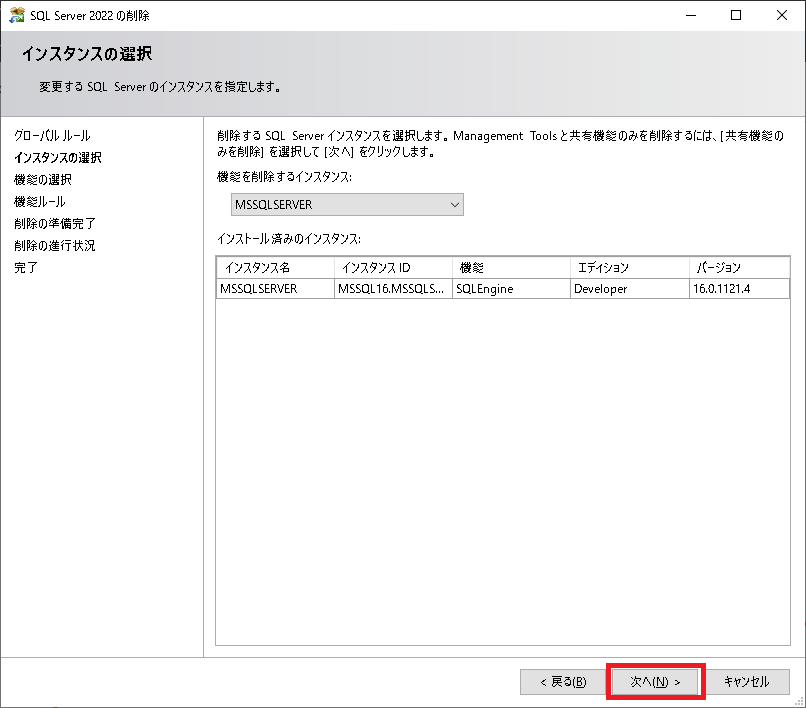
「インスタンスの選択」で「次へ」をクリック。
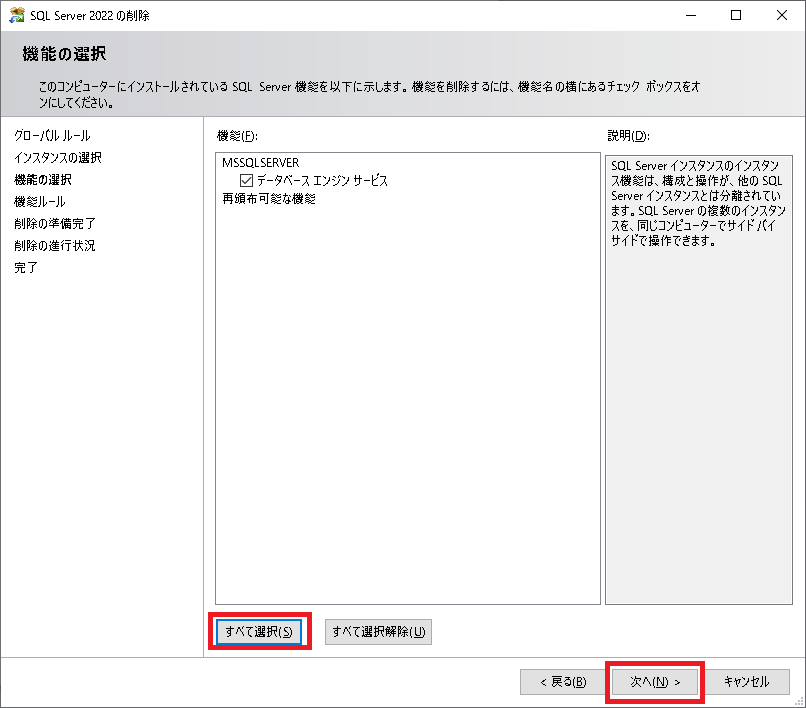
「機能の選択」で「すべて選択」をクリックした後に「次へ」をクリック。
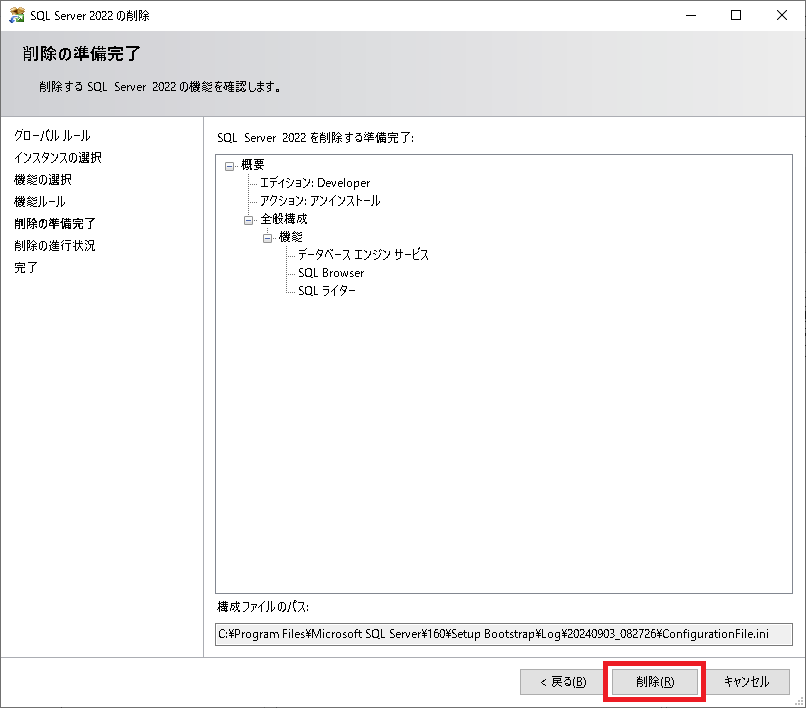
「機能の準備完了」で「削除」をクリック。
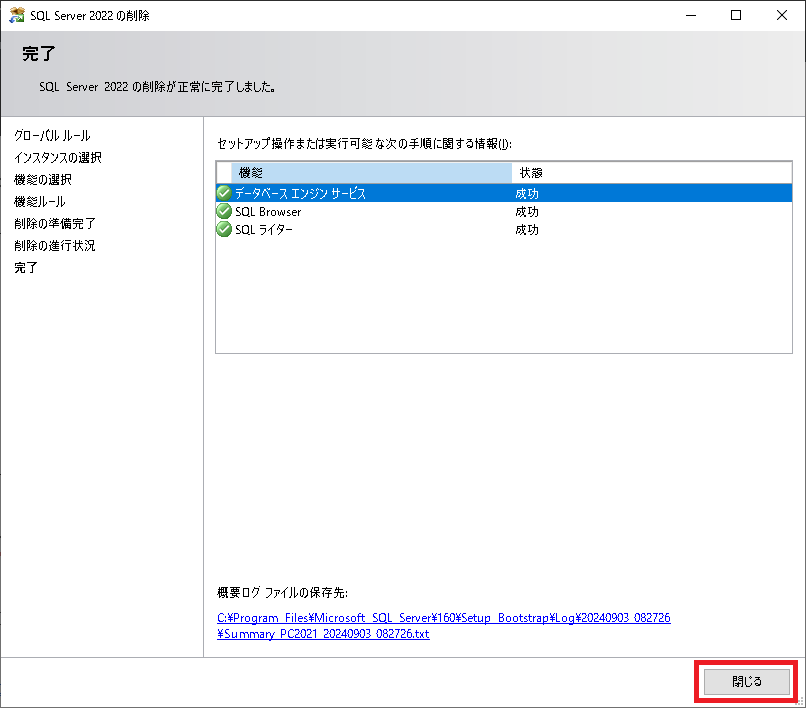
「完了」で「閉じる」をクリック。
SQLServer UIツール
インストーラーをダウンロード
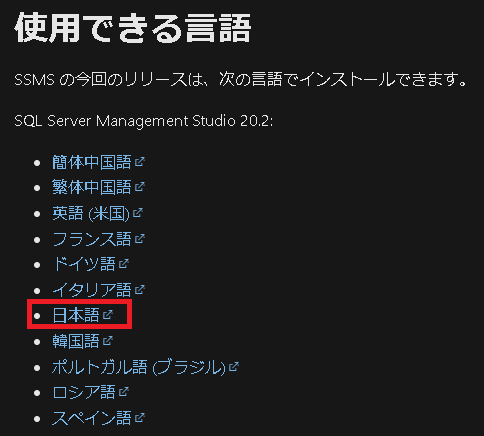
https://learn.microsoft.com/ja-jp/sql/ssms/download-sql-server-management-studio-ssms?view=sql-server-ver16&redirectedfrom=MSDN から、日本語版の SQL Server Management Studioのインストーラーをダウンロード。
インストール
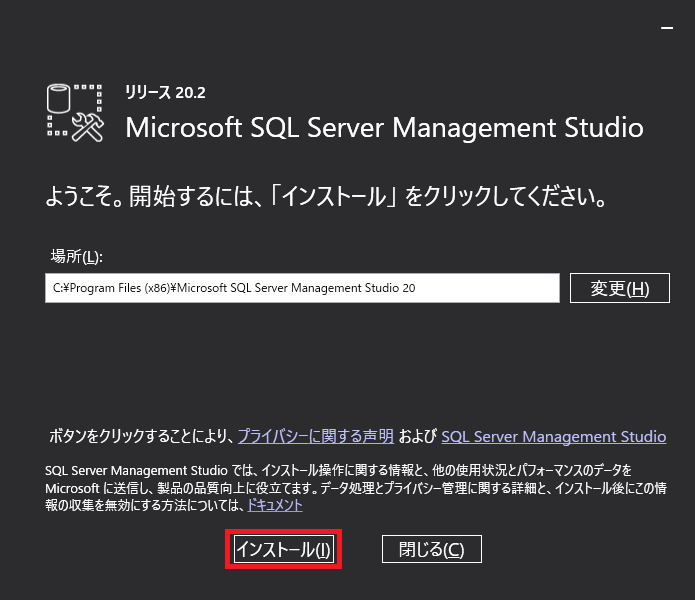
ダウンロードしたインストーラー(SSMS-Setup-JPN.exe)を実行。
「インストール」をクリック。
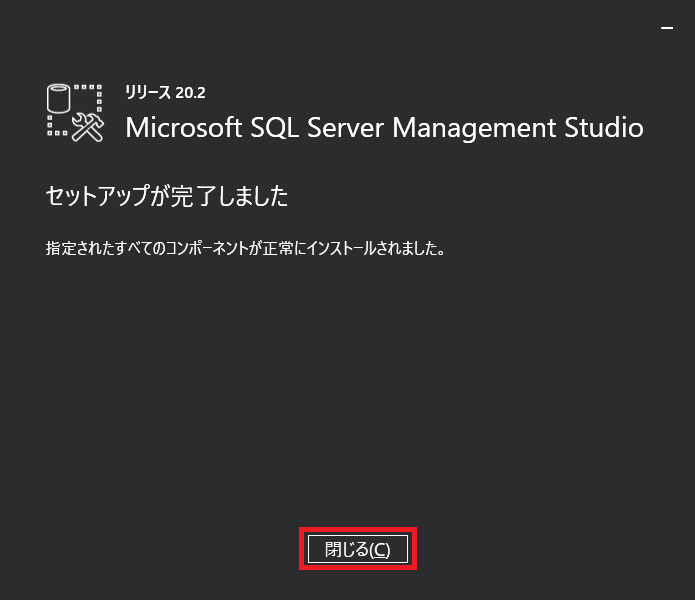
インストール完了。
SQL Serverを開く
スタートアップで「SQL Server Management Studio 20」をクリック。

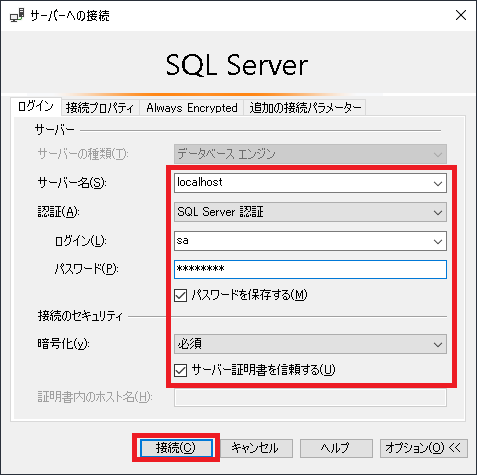
「サーバー名」は「localhost」、「認証」は「SQL Server 認証」、「ログイン」は「sa」、「パスワード」はインストール時に入力した値、「サーバー証明書を信頼する」を選択し、「接続」をクリック。
「オブジェクト エクスプローラー」に SQL Server 2022 が展開される。

データベースファイルをアタッチ
※SQL Server 2022より前のバージョンで作成したデータベースファイルでも、SQL Server 2022 にアタッチして使い続けることが出来る。
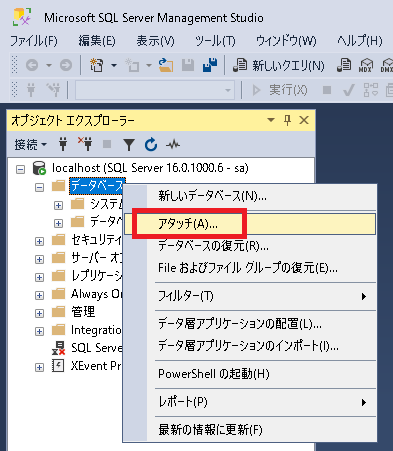
「オブジェクト エクスプローラー」で「データベース」を右クリックし「アタッチ」を選択。
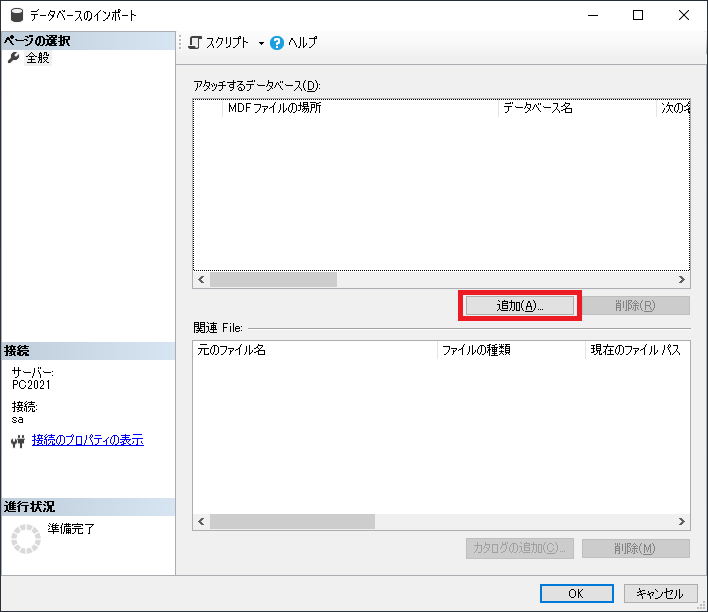
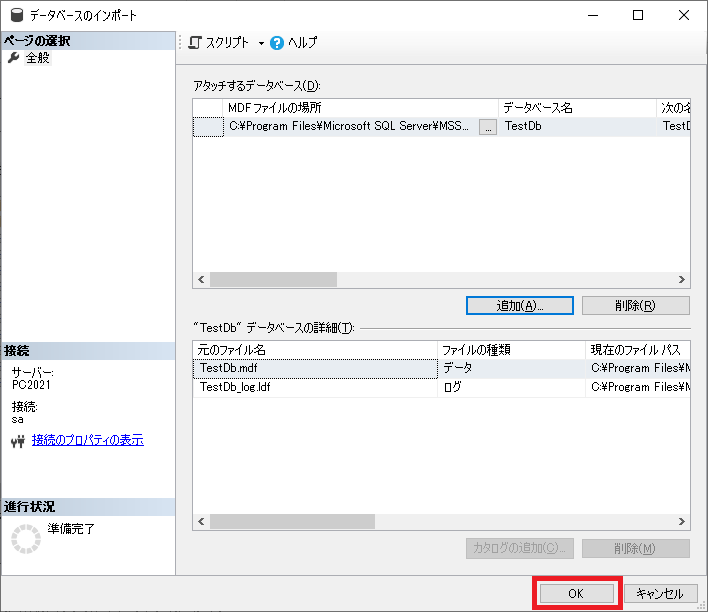
「データベースのインポート」で「追加」をクリック。
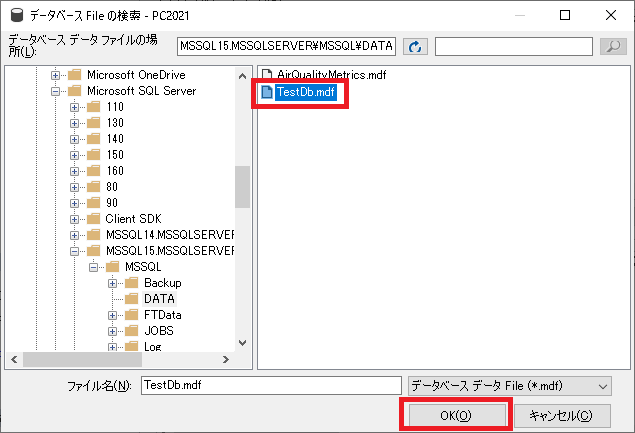
「データベース File の検索」で .mdf ファイルを選択し「OK」をクリック。
「データベースのインポート」で「OK」をクリック。
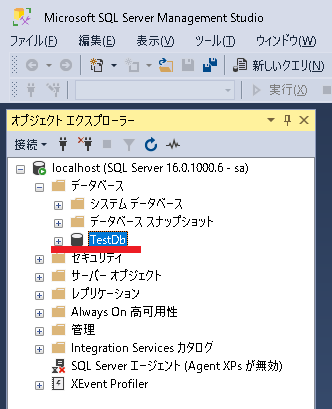
「オブジェクト エクスプローラー」の「データベース」にアタッチしたデータベースが展開されている。
アンインストール
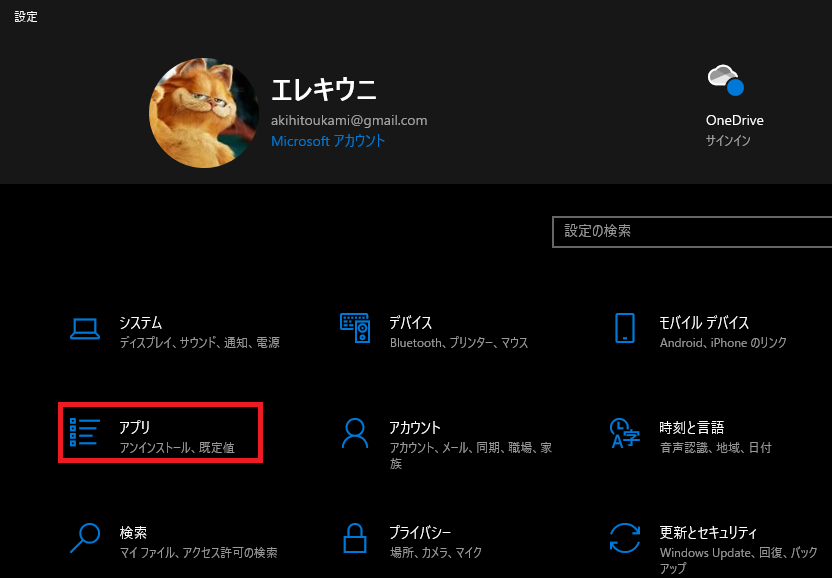
スタートアップで「設定」をクリック。

「アプリ」をクリック。
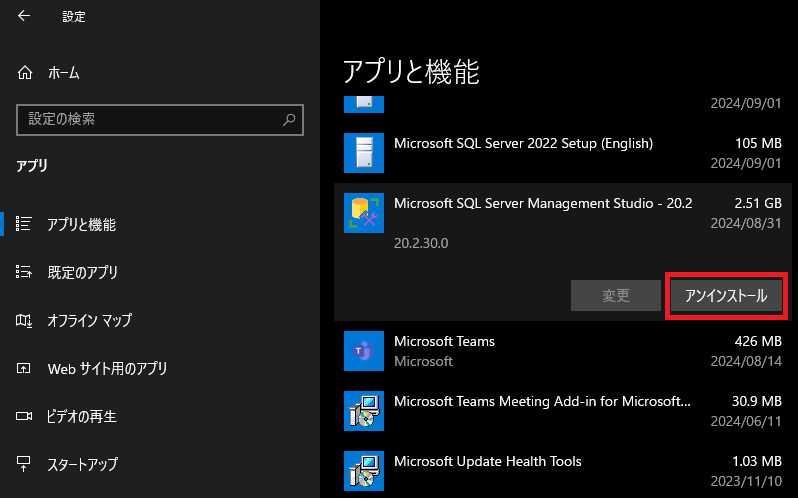
「Microsoft SQL server Management Studio」の「アンインストール」をクリック。
「Microsoft SQL server Management Studio」画面で「アンインストール」をクリック。
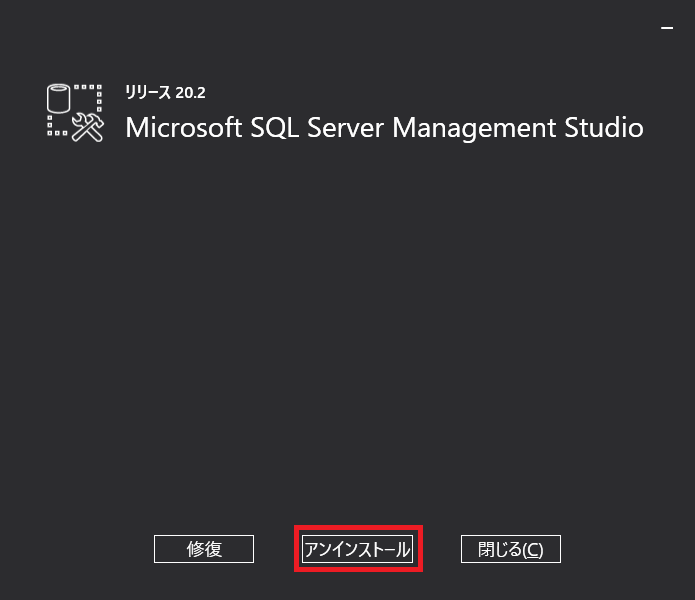
「Microsoft SQL server Management Studio」画面で「閉じる」をクリック。

コメント