さくらのブログでブログを作成した人向けの、Google SEO対策です。
「さくらのブログはGoogle SEOに弱い、SEO対策出来ない。」といった記事を幾つも見かけましたが、デマでした。
さくらのブログを、Google Search Consoleにサイト登録する手順は下記になります。
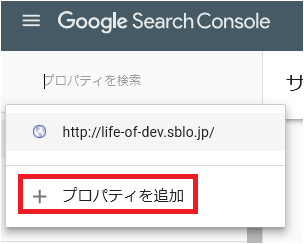
1. Google Search Console にログインしプロパティ追加を選択。

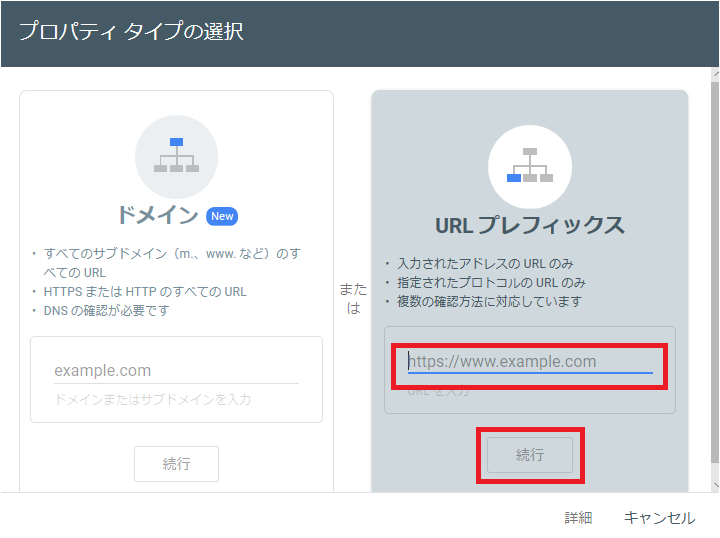
2. URLプレフィックスに、ブログの URL を入力し続行ボタンをクリック。
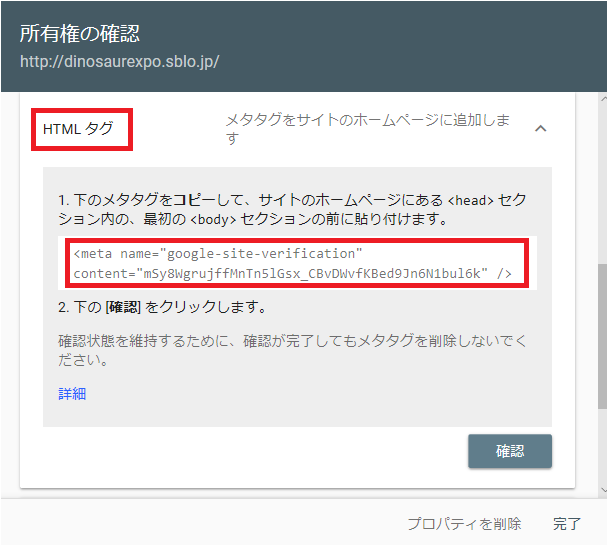
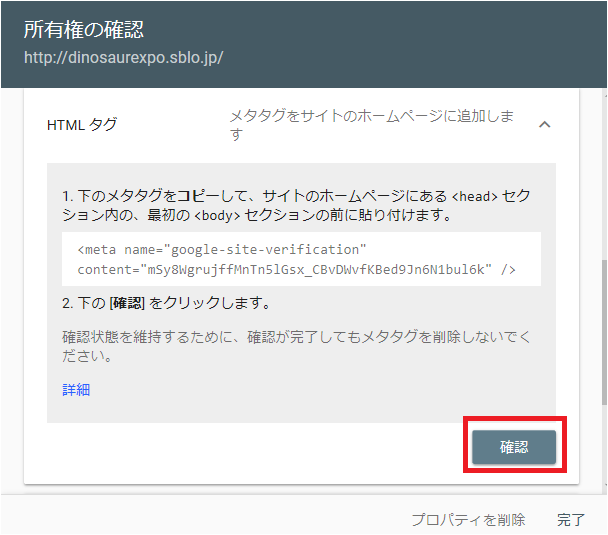
3. 所有権の確認画面で HTML タグページを選択。
<meta>タグをコピーする。
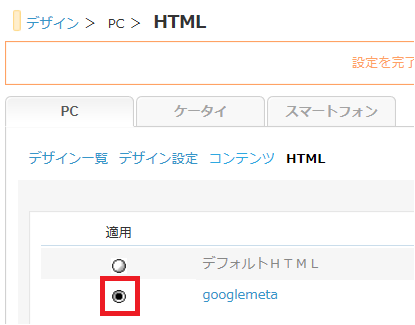
4. 「デザイン > PC > HTML」 画面に遷移し、「HTML 追加」リンクをクリック。
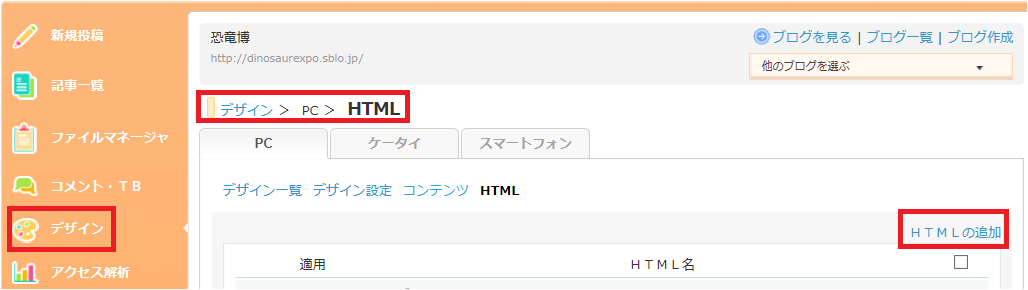
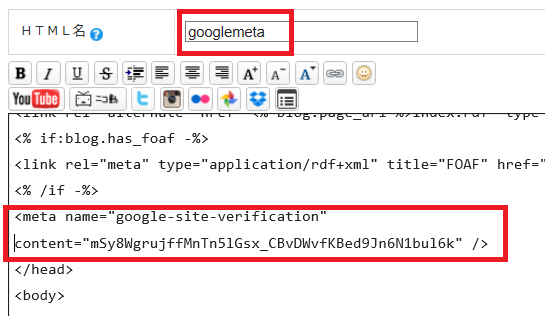
5. HTML名を入力し、<head></head>タグの間にGoogleのmetaタグを挿入し保存。
6. 追加した HTML をデフォルト選択にする。
7. Googleの「所有権の確認」画面で、「確認」ボタンをクリックする。
8. 「所有権を確認しました」が表示されればプロパティの追加は完了。

9. Google Search Console にサイトマップを登録する。これで各記事のGoogle検索順位が改善する。
http://ホスト名.sblo.jp/sitemap.xml

10. サイトマップのURLは、「さくらのブログ」の「設定> 詳細設定> ブログ設定」で確認できる。

コメント